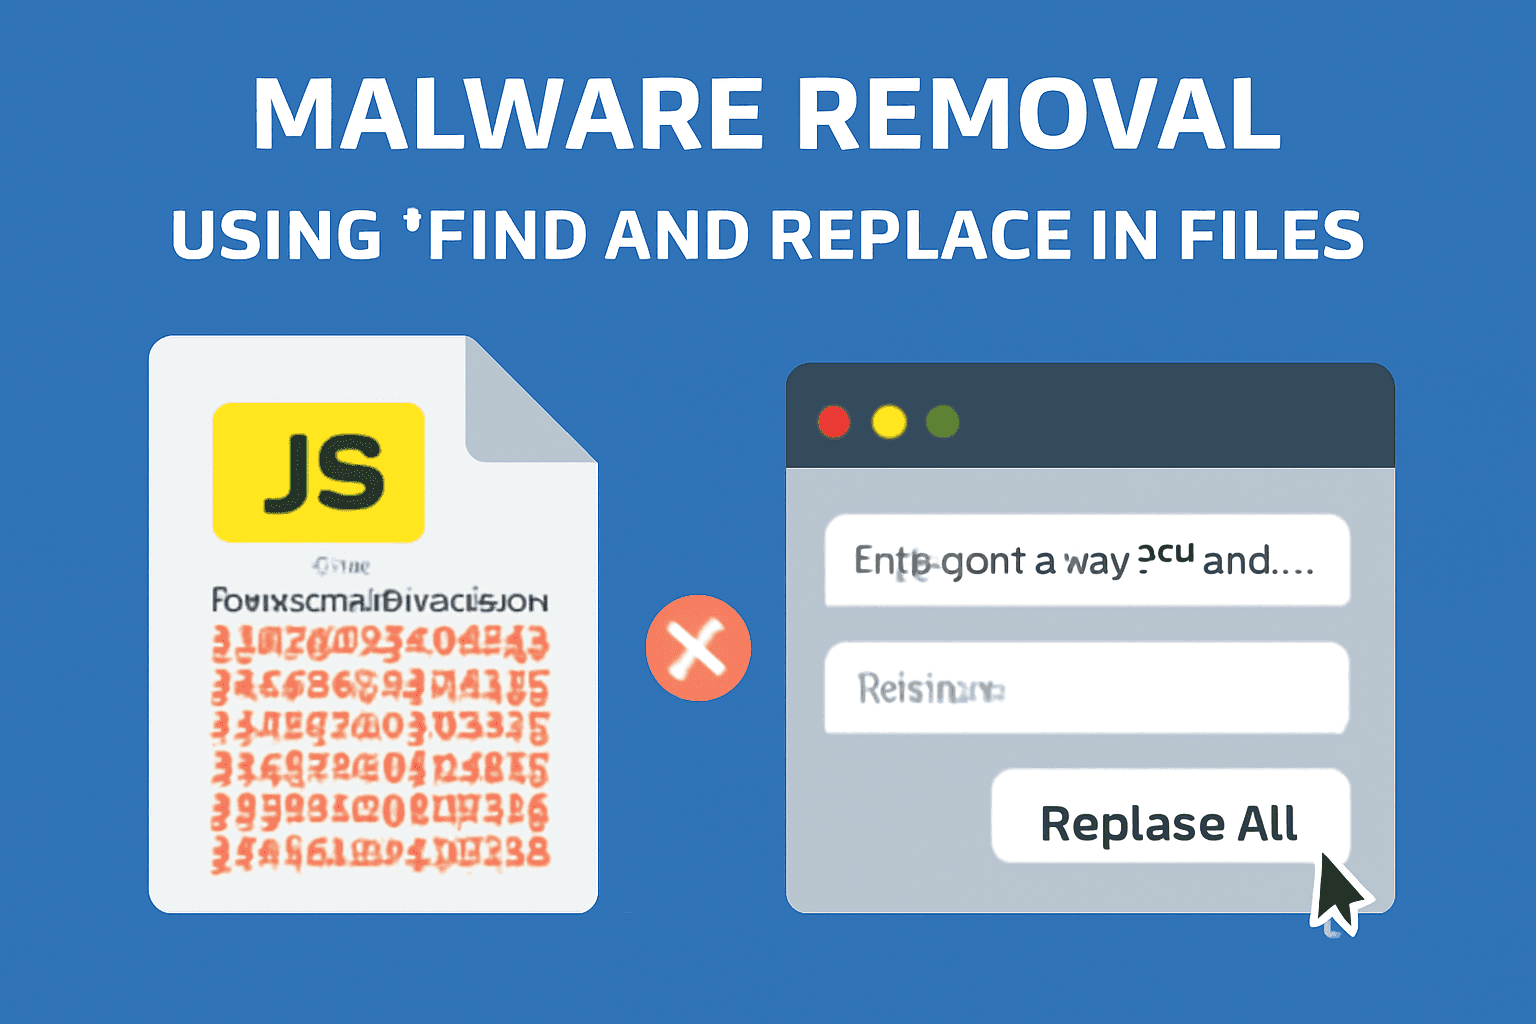
All JavaScript (.js) Files Infected? A Step-by-Step Virus Removal Guide

Finding your website suddenly redirecting to spammy pages or acting strangely is a horrible feeling. If you’ve dug into your site’s files, you may have been shocked to find that all your JavaScript (.js) files are infected with a large, confusing block of malicious code.
A very common infection looks something like this, often at the very top of the file:
;if(typeof uqvq==="undefined"){function a0M(){var r=['WQhdRSkK','D8keba',...
// ... a very long block of obfuscated code ...
...function G(j,E){var S=P;return j[S(0x219,'j%PW')+S(0x23a,'e@Bi')+'f'](E)!==-(0x19b+-0x116d+0xfd3);}}());};
This specific malware (which we can identify by the if(typeof uqvq==="undefined") check) is designed to redirect your visitors, steal information, or inject more malware.
The good news is that because the exact same code is injected into every file, we can use a powerful code editor like Visual Studio Code (VS Code) to perform a “Find and Replace” across your entire website in one go.
⚠️ Important Disclaimer: This method cleans the symptom (the malicious code) but not the cause (the security vulnerability). Your site is likely to be reinfected quickly if you don’t take further steps. This is an emergency cleanup, not a permanent fix.
If you’re not comfortable doing this yourself, or if you want a professional to find the root cause and harden your site, I offer a comprehensive WordPress Malware Removal Service to get your site clean and secure.
Step-by-Step Guide to Removing the Malware
Follow these steps precisely to clean your files.
Step 1: Backup, Replace Core Files & Get a Local Copy to Clean
Before you make any changes, your first step is to get a complete backup. This is your safety net. After that, we’ll replace the main WordPress files and download your wp-content folder to clean them locally.
- ⚠️ Take a Full Backup: Log into your hosting control panel (like cPanel, Plesk, or your host’s custom panel) and use the backup tool to generate a full backup of your entire site (both files and the database). Download this backup file to your computer and keep it somewhere safe. Do not skip this step!
- Replace WordPress Core Files: First, log in to your server. Following this guide, replace your
wp-adminandwp-includesfolders with fresh, clean copies from a new WordPress download. Do not delete yourwp-contentfolder and wp-config.php file. - Connect to Your Site: Use an FTP/SFTP client (like FileZilla) or your hosting panel’s (cPanel) File Manager to access your server’s files.
- Download Your Files:
- For WordPress Sites: Download your entire
wp-contentdirectory to a folder on your computer. - For Other Sites (Node.js, etc.): If your site isn’t WordPress, it’s best to download the entire website. To speed this up, use your hosting File Manager to compress the whole site into a
.zipfile, download that single file, and then uncompress it on your computer.
- For WordPress Sites: Download your entire
Step 2: Open Your Website Folder in VS Code
If you don’t have it, download VS Code for free. This tool will let us edit all the files at once.
- Open VS Code.
- Go to File > Open Folder…
- Select the folder you just downloaded (e.g., the
wp-contentfolder or your full site folder). You’ll see your site’s file structure in the “Explorer” panel on the left.
Step 3: Find the Exact Malicious Code
First, we need to get a perfect copy of the malware string.
- In the VS Code Explorer, find any infected
.jsfile (e.g., insidewp-content/plugins/.../assets/js/). - Click to open it.
- Carefully select the entire block of malicious code. Start from the very first character (often a semicolon
;) right beforeif(typeof uqvq...and select all the way down to the final};at the end of the block. - Copy this entire block to your clipboard (Ctrl+C or Cmd+C).
Step 4: Use “Find and Replace in Files”
This is the most critical step.
- Click the Search icon in the left-hand sidebar (or press Ctrl+Shift+F on Windows/Linux, Cmd+Shift+F on Mac).
- This opens the “Search” panel with two boxes: “Find” and “Replace.”
- In the “Find” box: Paste the entire malicious code block you just copied. It will be very long and may wrap around multiple lines. That’s fine.
- In the “Replace” box: Leave this completely empty. We want to replace the malware with nothing.
- Just above the “Replace” box, make sure the file filter is set to include
.jsfiles. You can type*.jsinto the “files to include” box to be extra sure you’re only targeting JavaScript files. - Double-check your “Find” box to ensure you copied the entire string.
Step 5: Replace All
- Click the “Replace All” icon (it looks like a small box with an arrow pointing to another box, located to the right of the “Replace” field).
- VS Code will ask you to confirm. Click “Replace”.
- VS Code will now go through every single file in your project, find that exact block of malware, and delete it. This may take a few seconds to a minute, depending on the size of your site.

You’re Not Done! What to Do Immediately After
You’ve cleaned the files, but the “hacker’s backdoor” is still open. You must do the following, or the malware will return.
-
- Re-upload Your Clean Files: Delete the infected
wp-contentfolder on your server and upload your newly cleanedwp-contentfolder via FTP/SFTP. - Change ALL Passwords: This is not optional.
- WordPress Admin (all users)
- cPanel / Hosting Account
- FTP/SFTP Accounts
- Update Everything: Outdated software is the #1 way hackers get in.
- Update WordPress Core.
- Update ALL plugins.
- Update ALL themes.
- Install a Security Plugin:
- Install a plugin like Wordfence or Sitecheck Sucuri.
- Run a full, high-sensitivity scan. It will check your core files and look for other backdoors you may have missed.
- Remove Unused Plugins/Themes: If you’re not using it, delete it. Every inactive plugin is a potential security risk.
- Check User Accounts: In your WordPress dashboard, go to “Users.” Look for any new admin accounts you didn’t create and delete them immediately.
- Re-upload Your Clean Files: Delete the infected
Overwhelmed? Let a Professional Handle It.
This DIY guide can save you in an emergency, but a true malware infection runs deep. If the malware returns, or you’re worried you missed a backdoor, it’s best to get professional help.
I specialize in WordPress Virus Removal and site hardening. I’ll clean your site thoroughly, find the vulnerability that allowed the hacker in, and secure your website to prevent future attacks.
Click here to learn more about my WordPress Malware Removal Service and get your site cleaned today.

